Have you ever noticed that your hip roof patio cover is not as sturdy as it used to be or perhaps it’s leaking during those rainy days? Well, fear not, because there are some simple DIY fixes that can help you address these common issues. From identifying the underlying problems to repairing leaks and fixing sagging structures, there are practical solutions that you can implement yourself. But that’s not all – we’ll also explore how to replace damaged shingles and discuss the importance of regular maintenance to prevent future problems. So, if you’re looking to restore the functionality and aesthetics of your hip roof patio cover, keep reading to discover some valuable tips and tricks.
Identifying Common Issues
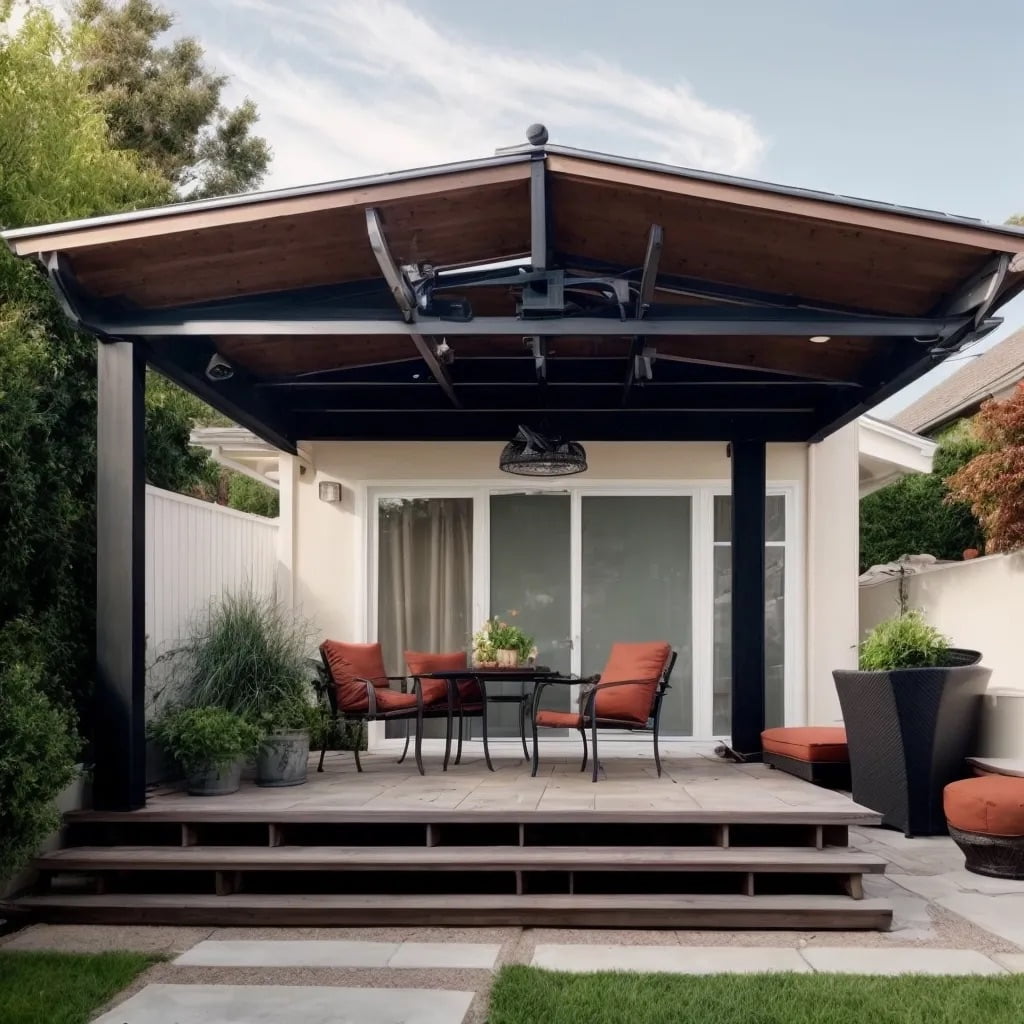
To effectively identify common issues with your hip roof patio cover, carefully inspect the structure for any visible signs of damage or wear. Start by examining the support beams, as they play a crucial role in maintaining the integrity of your cover. Look for any signs of weakness, such as sagging or cracks in the beams. If you notice any areas that seem unstable or compromised, it is essential to reinforce them promptly.
Reinforcing weak support beams can be done by adding additional support, such as braces or brackets, to strengthen the structure. Ensure that these reinforcements are securely attached and provide the necessary stability. It is also important to inspect the connections between the beams and the main frame of the patio cover. Look for any loose or damaged fasteners and tighten or replace them as needed.
Another common issue with hip roof patio covers is water leakage. Proper waterproofing is crucial to protect your patio and the underlying structure from water damage. Inspect the cover for any cracks or gaps that may allow water to seep through. Apply a waterproof sealant or caulking to these areas to create a barrier against moisture.
Additionally, check the condition of the roofing materials. Look for any missing or damaged shingles, tiles, or panels. Replace any worn-out or broken pieces to prevent further water penetration.
Repairing Leaks
If you have noticed water leakage in your hip roof patio cover, it is crucial to address and repair the issue promptly to prevent further damage. One common cause of leaks in hip roof patio covers is damaged or deteriorated flashing. Flashing is a thin strip of metal or other material that is installed to prevent water from seeping into the joints and seams of the roof. Over time, flashing can become corroded or damaged, leading to leaks. To repair flashing, start by removing any old or damaged flashing using a pry bar or a flathead screwdriver. Once the old flashing is removed, clean the area thoroughly to ensure a proper seal. Next, cut a new piece of flashing to the appropriate size and shape. Place the new flashing over the joint or seam and secure it in place using roofing nails or screws. Be sure to apply a generous amount of roofing cement or sealant around the edges of the flashing to create a watertight seal. Another common source of leaks in hip roof patio covers is poorly sealed joints. To fix this issue, inspect the joints of your patio cover and look for any gaps or cracks where water could enter. Use a waterproof sealant to fill in any gaps or cracks, ensuring that the sealant is applied evenly and thoroughly. Allow the sealant to dry completely before testing the area for leaks. By repairing flashing and sealing joints, you can effectively address and prevent leaks in your hip roof patio cover. Remember to regularly inspect your patio cover for any signs of damage or wear, and address any issues promptly to avoid further damage.
Fixing Sagging Structures
Addressing sagging structures in your hip roof patio cover is essential to ensure its stability and prevent further damage. A sagging support can weaken the overall structure of your patio cover and compromise its ability to withstand external forces such as heavy rain or strong winds. Therefore, it is crucial to take immediate action to fix the problem.
To fix a sagging structure, you will need to reinforce the beams that support the roof. Start by inspecting the existing beams for any signs of damage or weakness. Look for cracks, rot, or any other visible issues that may have contributed to the sagging. Once you have identified the problem areas, you can proceed with the necessary repairs.
One effective way to reinforce the beams is by adding additional support using braces or brackets. These can be installed underneath the sagging beams to provide additional strength and stability. Make sure to choose braces or brackets that are specifically designed for outdoor use and can withstand the elements.
Replacing Damaged Shingles
When replacing damaged shingles on your hip roof patio cover, it is important to carefully remove the old shingles to ensure a proper installation of the new ones. Here are some shingle replacement tips and DIY shingle repair techniques to help you with this task.
First, gather the necessary tools for the job, including a hammer, pry bar, utility knife, roofing nails, and new shingles. Start by identifying the damaged shingles and mark them for removal. Use the pry bar to gently lift the shingles above the damaged ones, being careful not to damage the surrounding shingles.
Once you have removed the damaged shingles, inspect the underlying roof deck for any signs of damage or rot. If you notice any issues, repair them before installing the new shingles. It is crucial to have a solid foundation for the new shingles to prevent future damage.
Next, measure and cut the new shingles to fit the space. Use the utility knife to score the back of the shingle and then snap it along the scored line. Slide the new shingle into place, ensuring it overlaps the surrounding shingles to create a watertight seal.
Secure the new shingle in place using roofing nails, making sure to drive them into the designated nail line on the shingle. Be careful not to drive the nails too far, as this can damage the shingle and compromise its integrity.
Continue this process until all the damaged shingles have been replaced. Finally, inspect your work to ensure that all the new shingles are properly installed and aligned with the existing ones.
Maintaining and Preventing Future Problems
To maintain and prevent future problems with your hip roof patio cover, regularly inspect and clean the shingles and ensure proper drainage of water. By conducting routine inspections, you can identify any signs of damage or wear and take prompt action to address them. Inspect the shingles for cracks, curling, or missing pieces. These issues can compromise the structural integrity of your patio cover and may lead to leaks or further damage during inclement weather. If you notice any damaged shingles, replace them immediately to protect against weather damage.
Cleaning the shingles is also essential to maintain their durability and protect against weather damage. Use a soft brush or broom to remove debris, such as leaves, twigs, and dirt, from the surface of the shingles. Regular cleaning will prevent the accumulation of moisture, which can weaken the shingles and lead to mold or rot. Additionally, make sure that the gutters and downspouts are clear of any blockages to ensure proper drainage. Clogged gutters can cause water to overflow, leading to water damage and leaks.