Did you know that according to a recent survey, more and more homeowners are opting for DIY hip roof patio cover installations? It’s a growing trend that allows you to enhance your outdoor space while saving money. But what exactly is a hip roof patio cover and how can you install one yourself? In this discussion, we will explore the benefits of DIY hip roof patio cover installation, the materials and tools you’ll need, and provide step-by-step instructions to help you create the perfect sheltered oasis in your backyard. So, if you’re ready to transform your patio into a stylish and functional retreat, let’s get started!
What Is a Hip Roof Patio Cover?
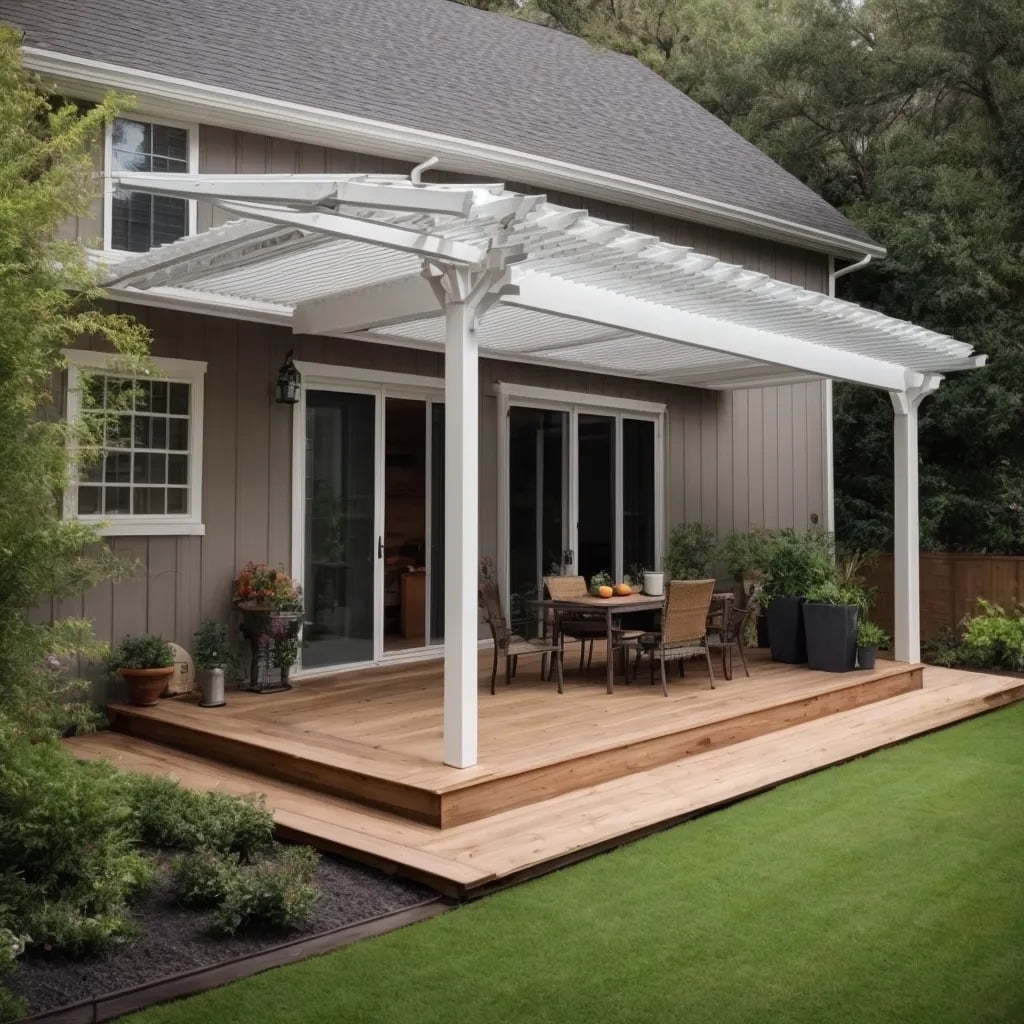
A hip roof patio cover is a type of roofing structure that features a sloping roof on all sides, creating a unique and visually appealing design. This style of roof construction is characterized by its four sides, or hips, that slope downwards from a central point, forming a pyramid-like shape. The hip roof design is particularly popular for patio covers due to its durability, stability, and aesthetic appeal.
The construction of a hip roof patio cover involves careful planning and precise measurements. The design begins with determining the size and shape of the patio area to be covered. Once the dimensions are established, the necessary materials can be acquired, including beams, rafters, and roofing materials.
To construct a hip roof, the first step is to install the support beams, which will form the base of the structure. These beams should be securely anchored to the ground to ensure stability. Next, the rafters are installed, connecting the support beams and providing the framework for the roof. The rafters should be spaced evenly to distribute the weight of the roofing material.
Once the framework is in place, the roofing material is installed. Common materials used for hip roof patio covers include shingles, metal panels, or even thatch for a more tropical look. The roofing material should be installed evenly and securely to provide adequate protection from the elements.
Benefits of DIY Hip Roof Patio Cover Installation
Installing a hip roof patio cover yourself offers numerous benefits that make it a worthwhile DIY project. One significant advantage is the cost comparison. Hiring professionals to install a hip roof patio cover can be expensive, as it involves labor costs and additional fees. By taking on the project yourself, you can save a significant amount of money. The materials needed for the installation are readily available and can be purchased at a lower cost compared to hiring contractors.
Another benefit of DIY hip roof patio cover installation is the reduced maintenance requirements. When professionals install patio covers, they may not always consider your specific needs or preferences. By doing it yourself, you have complete control over the design and materials used. This allows you to choose high-quality materials that require minimal maintenance. You can select materials that are resistant to weathering, UV rays, and other elements, ensuring the longevity of your patio cover and reducing the need for frequent repairs or replacements.
Materials Needed for DIY Hip Roof Patio Cover Installation
To successfully install a hip roof patio cover yourself, you will need a specific set of materials. These materials will not only ensure the durability and stability of your patio cover but also make the installation process easier and more efficient.
The primary material you will need is the hip roof patio cover kit. This kit typically includes all the necessary components, such as the hip rafters, ridge beam, and support posts. It is important to choose a kit that is compatible with the size and design of your patio.
In addition to the kit, you will also need roofing materials. This includes roofing panels, which can be made of various materials such as metal, polycarbonate, or fiberglass. The choice of roofing material will depend on your preferences, budget, and climate conditions. It is recommended to select a material that is durable, weather-resistant, and aesthetically pleasing.
To secure the patio cover, you will need fasteners such as screws or nails. It is important to choose the appropriate size and type of fasteners that are compatible with the materials you are using. Additionally, you will need tools such as a drill, saw, measuring tape, and level to ensure accurate and precise installation.
When estimating the cost of materials, it is advisable to consider alternative options. For example, instead of purchasing a pre-made kit, you could opt for custom-made hip roof patio cover components. This may require additional time and effort, but it can give you more flexibility in terms of design and materials.
Tools Required for DIY Hip Roof Patio Cover Installation
When it comes to installing a hip roof patio cover yourself, having the right tools is essential for a successful and efficient installation process. To ensure that you have everything you need, here are the tools that you will require for DIY hip roof patio cover installation.
- Measuring Tape: Accurate measurements are crucial for a proper fit. Use a measuring tape to measure the dimensions of your patio and the materials you will be working with.
- Circular Saw: A circular saw is a versatile tool that will help you cut the wooden beams and panels to the desired length. Make sure to use the appropriate blade for cutting through wood.
- Power Drill: A power drill will be needed to secure the beams and panels together. It will also come in handy for attaching the cover to the existing structure.
- Level: To ensure that your patio cover is level and plumb, a level is essential. It will help you make precise adjustments and avoid any common mistakes in DIY hip roof patio cover installation.
- Ladder: Since you will be working at an elevated height, a sturdy ladder is necessary. Choose a ladder that can support your weight and provides stability while working.
- Safety Equipment: Safety should always be a top priority. Wear protective gear such as gloves, safety goggles, and a hard hat to prevent any accidents or injuries.
Step-By-Step Instructions for Building a Hip Roof Patio Cover
Start by preparing the foundation for your hip roof patio cover. Before beginning the construction process, it’s important to understand the difference between a hip roof and a gable roof for patio cover installation. A hip roof has slopes on all four sides, while a gable roof has slopes on just two sides. Both options have their advantages, but a hip roof is often preferred for its durability and ability to withstand strong winds.
Once you have determined the type of roof you want, it’s time to avoid common mistakes that can arise during the construction process. One common mistake is failing to obtain the necessary building permits. Before starting any construction, check with your local authorities to ensure you have the proper permits. Another mistake to avoid is not taking accurate measurements. Measure twice, cut once is a golden rule to follow. Taking precise measurements will help ensure that your patio cover fits properly and looks aesthetically pleasing.
Next, gather all the necessary tools and materials for the construction process. This may include lumber, roofing materials, nails, screws, and a variety of tools such as a circular saw, tape measure, and level. With your materials in hand, begin by installing the posts for your patio cover. These posts will provide the foundation and support for the rest of the structure.
Once the posts are securely in place, it’s time to construct the roof frame. This involves cutting and attaching the rafters and beams according to your specific design. Ensure that all connections are secure and that the frame is level. Finally, install the roofing materials of your choice, such as shingles or metal sheets, to complete your hip roof patio cover.
Building a hip roof patio cover can be a rewarding DIY project that adds value and functionality to your outdoor space. By following these step-by-step instructions and avoiding common mistakes, you can create a beautiful and durable patio cover that will provide shelter and protection for years to come.