Are you looking to transform your outdoor space into a comfortable and stylish patio area? Well, look no further! In this essential guide, we will walk you through the process of installing hip roof patio materials. From selecting the right materials to adding the finishing touches, we’ve got you covered. So, whether you’re a seasoned DIY enthusiast or a homeowner looking to embark on your first project, get ready to elevate your outdoor living experience. But first, let’s dive into the first step: selecting the perfect patio materials.
Selecting the Right Patio Materials
To ensure a durable and aesthetically pleasing hip roof patio, it is crucial to carefully select the right materials for your project. The patio design and weather resistance are key factors to consider when choosing the materials.
When it comes to patio design, you want to select materials that complement the overall style of your home and outdoor space. There are various options available, such as natural stone, concrete, wood, and composite materials. Each material has its own unique characteristics and aesthetic appeal. Natural stone, like flagstone or travertine, offers a timeless and elegant look, while concrete provides a more modern and versatile option. Wood, such as cedar or teak, adds warmth and natural beauty to your patio, while composite materials offer a low-maintenance alternative with a range of colors and textures to choose from. Consider the existing elements in your outdoor space and choose materials that will enhance the overall visual appeal and create a cohesive design.
In addition to patio design, weather resistance is another crucial factor to consider. Your patio will be exposed to the elements year-round, so it is important to select materials that can withstand various weather conditions. Look for materials that are resistant to fading, cracking, and warping caused by UV rays and temperature fluctuations. Additionally, choose materials that are resistant to moisture, mold, and mildew, especially if your patio is located in a humid or rainy climate. This will ensure the longevity and durability of your patio, requiring minimal maintenance and repairs over time.
Preparing the Roof for Installation
Before installing the hip roof patio materials, it is essential to adequately prepare the roof to ensure a secure and long-lasting installation. Proper roof preparation is crucial in providing a stable foundation for your patio materials and preventing any potential issues down the line. To ensure a successful installation, you will need a few essential tools.
The first step in roof preparation is to clean the surface thoroughly. Remove any debris, such as leaves, twigs, or loose shingles, that may be present on the roof. This will provide a clean and level surface for the patio materials to be installed. Additionally, it is important to inspect the roof for any existing damage or leaks. Repair any damaged or weakened areas before proceeding with the installation to avoid further issues.
Once the surface is clean and free of any damage, the next step is to apply a roof underlayment. The underlayment acts as a barrier between the roof and the patio materials, providing an extra layer of protection against moisture and ensuring a waterproof installation. Choose a high-quality underlayment that is suitable for your specific roof type.
In terms of essential tools, you will need a ladder to safely access the roof, as well as a broom or brush to clean the surface. Additionally, having a roofing knife or utility knife will come in handy for cutting and shaping the underlayment.
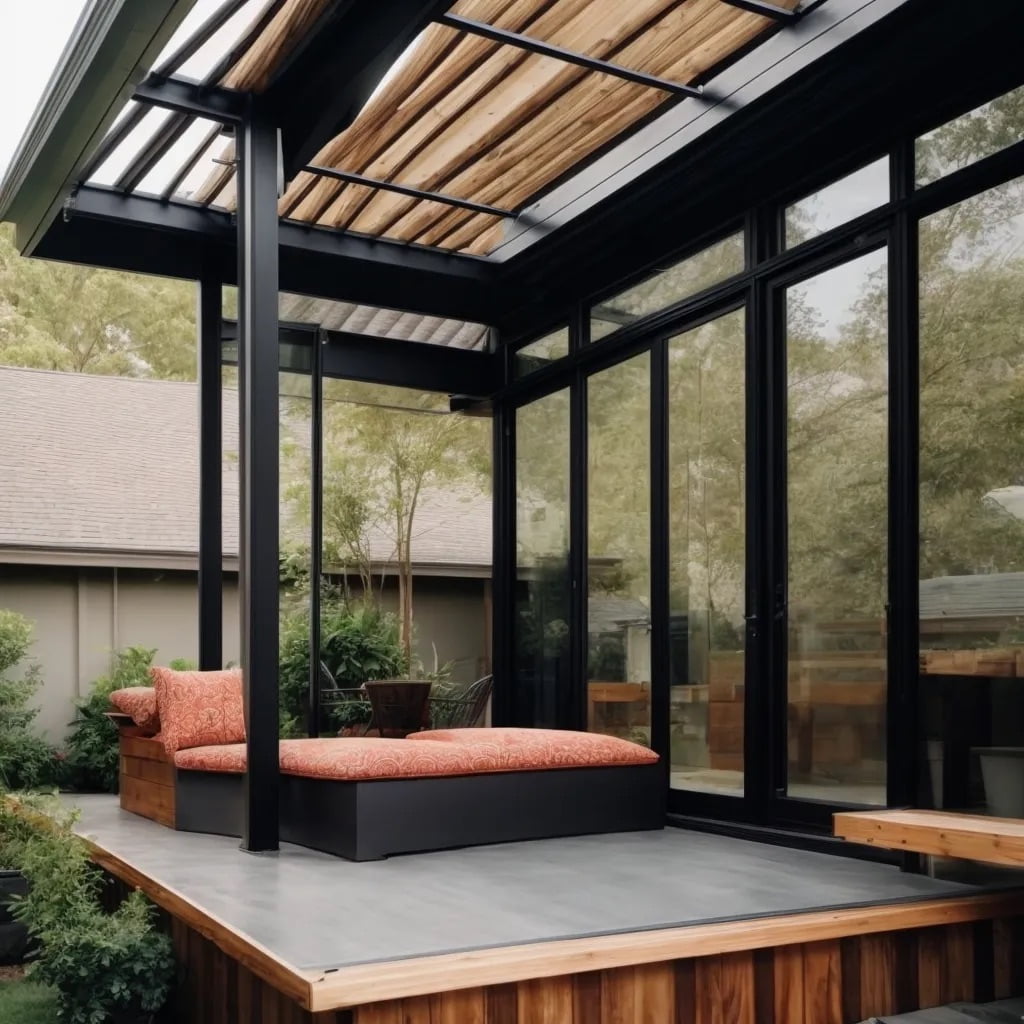
Installing the Hip Roof Framework
You can begin the installation process by assembling and installing the hip roof framework. The hip roof design is a popular choice for patio covers due to its many benefits. It provides excellent stability and durability, making it ideal for areas with strong winds or heavy snow loads. Additionally, the hip roof design offers a sleek and aesthetically pleasing appearance, adding value to your outdoor space.
To install the hip roof framework, you will need the following materials: 2×4 lumber, metal brackets, screws, a saw, and a drill. It is crucial to measure and cut the lumber accurately to ensure a proper fit. Start by measuring the dimensions of your patio and determining the desired overhang. Cut the four hip rafters according to these measurements.
Next, attach the metal brackets to the tops of the existing roof beams or posts. These brackets will serve as the connection point for the hip rafters. Make sure to securely fasten the brackets using screws.
Once the brackets are installed, it is time to attach the hip rafters. Place the rafters on top of the brackets and secure them with screws. Make sure the rafters are level and evenly spaced. Repeat this process for all four rafters.
After installing the hip rafters, reinforce the structure by adding additional support beams. These beams will help distribute the weight of the roof evenly. Attach the support beams to the hip rafters using screws and brackets.
Once the framework is complete, you can proceed with the installation of the roofing materials. The hip roof framework provides a solid foundation for the roof cover, ensuring a long-lasting and functional patio structure.
Adding the Roofing Materials
Now that the hip roof framework is securely in place, it is time to move on to the next step of the installation process: adding the roofing materials. This crucial step not only provides protection from the elements but also adds aesthetic appeal to your hip roof patio. When it comes to installing hip roof vents, it is important to choose a design that complements the overall style of your patio. These vents not only improve ventilation but also help prevent moisture buildup, extending the lifespan of your roof. Additionally, they can enhance the energy efficiency of your patio space by allowing hot air to escape during the summer months.
Another important aspect to consider when adding roofing materials is choosing the right hip roof color scheme. The color you choose should blend seamlessly with the overall design and color palette of your patio. Opting for a color that matches or complements the existing exterior of your home will create a sense of harmony and unity. On the other hand, contrasting colors can be used to make a bold statement or create visual interest. However, it is important to strike the right balance to ensure that the color scheme does not overpower the overall look of your patio.
With the roofing materials in place and the hip roof vents installed, your hip roof patio is now one step closer to being complete. The next and final step in the installation process is to add the finishing touches, such as gutters, soffits, and fascia. These elements not only enhance the functionality of your hip roof patio but also add the final touch of elegance and sophistication. So, take your time when choosing the roofing materials and color scheme, as they play a crucial role in creating a beautiful and functional outdoor space where you can relax and enjoy the company of friends and family.
Finishing Touches and Maintenance Tips
To ensure the longevity and functionality of your hip roof patio, it is essential to focus on the finishing touches and follow proper maintenance tips. After installing the roofing materials, it is time to pay attention to the details that will enhance the overall appearance and durability of your patio. One aspect to consider is the choice of color for your patio materials. Opting for a color that complements your house and outdoor landscape will create a cohesive and aesthetically pleasing look. Additionally, certain colors can also help regulate the temperature of your patio, providing a more comfortable environment.
In terms of maintenance, it is crucial to establish a regular maintenance schedule for your hip roof patio. This will ensure that any potential issues are identified and addressed promptly, preventing further damage. Regularly inspecting the roof for any signs of wear and tear, such as cracks, leaks, or loose shingles, is essential. These issues should be promptly repaired to prevent water damage to your patio or any underlying structures.
Furthermore, it is important to keep the gutters and downspouts clean and free from debris to ensure proper drainage. Clogged gutters can lead to water accumulation, which can cause damage to the patio materials.
Another maintenance tip is to periodically clean the patio materials to remove dirt, debris, and any stains that may have accumulated over time. This can be done using a mild detergent and a soft brush, followed by rinsing with water. Avoid using harsh chemicals or abrasive materials that can cause damage to the surface of the patio.